4.4. Image output settings via GUI#
In this section, we use web GUI for image output configuration.
4.4.1. Connect to Web GUI#
With the host PC, open the browser and access to http://<GMSL board ip address>:3000 or http://kria-gmsl.local:3000. The web-based GUI should appear so you can set various settings.
4.4.2. Setting the number of connected cameras#
First, the number of connections setting must match the number of connected cameras.
Clicking Board Settings will open the Board Setting page. On that page, there is a Number of cameras item.
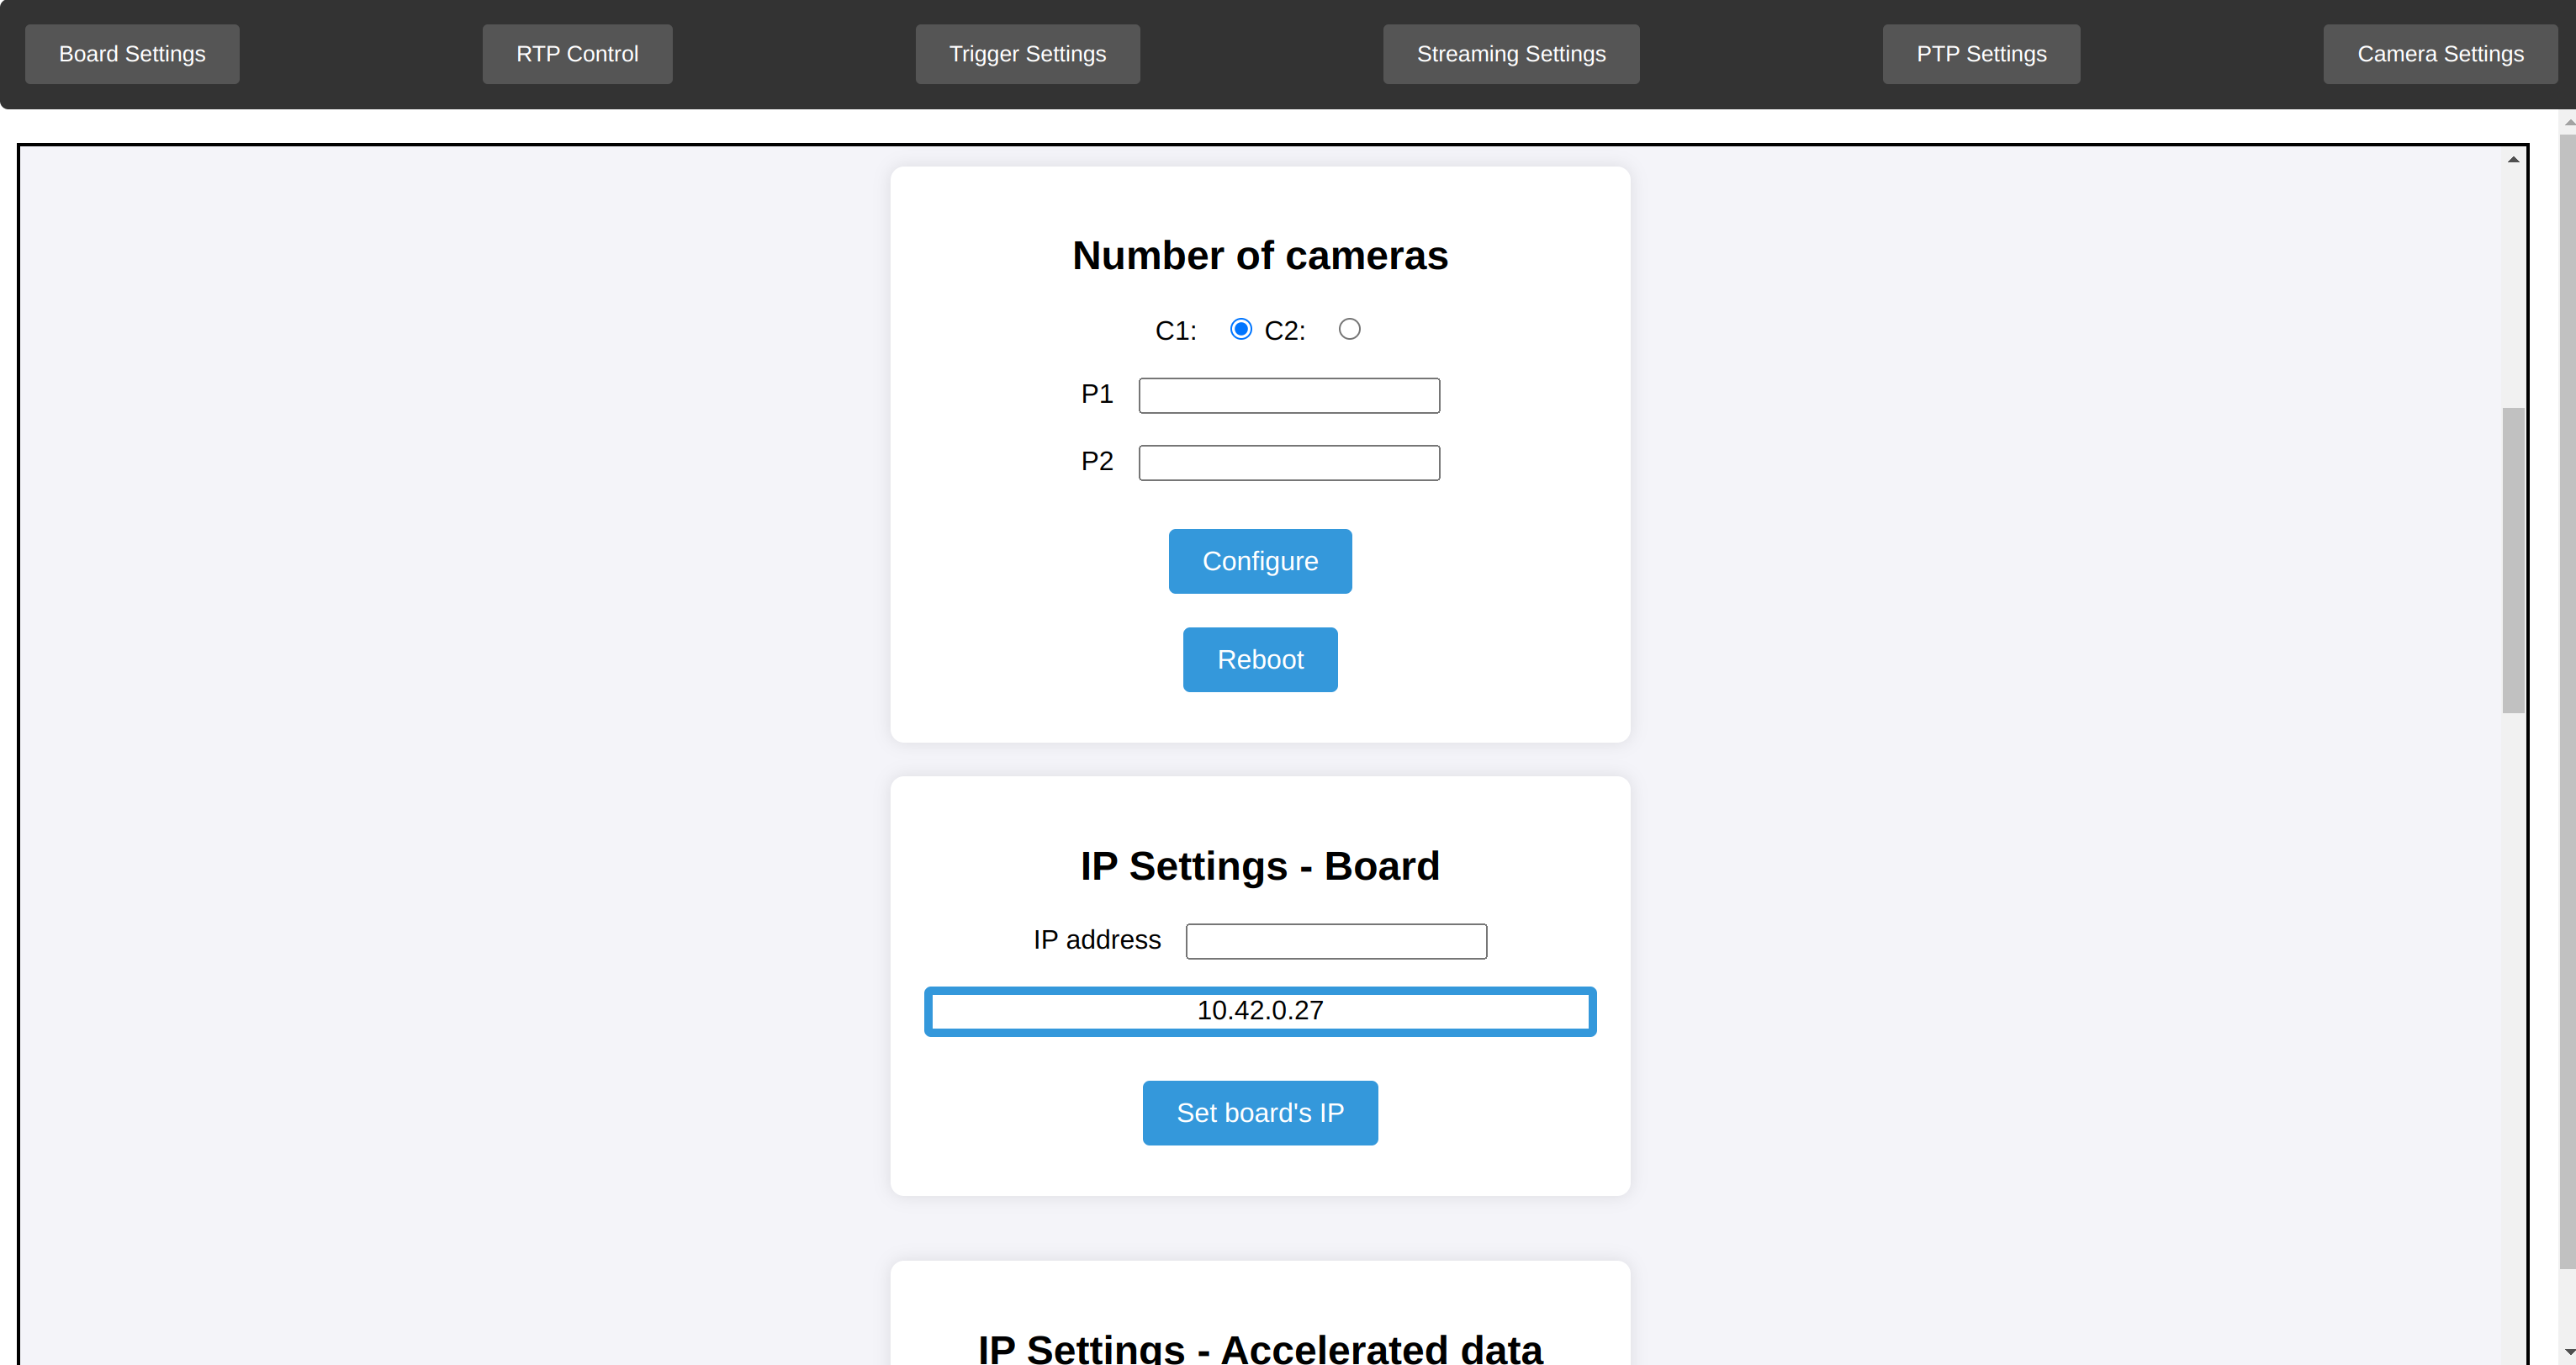
Fig. 4.7 cam_num_setting#
Please follow the steps below to set up the number of connections setting.
Enter the number of cameras connected to P1 (port 1) and P2 (port 2) in the appropriate fields and click the
Configurebutton.Then click the
Rebootbutton to apply the settings.
You can set the equivalent meaning with the configurations described in CUI or REST API.
4.4.3. Image output configuration#
Next, configure the image output settings.
Clicking RTP Control will open the RTP Control page.
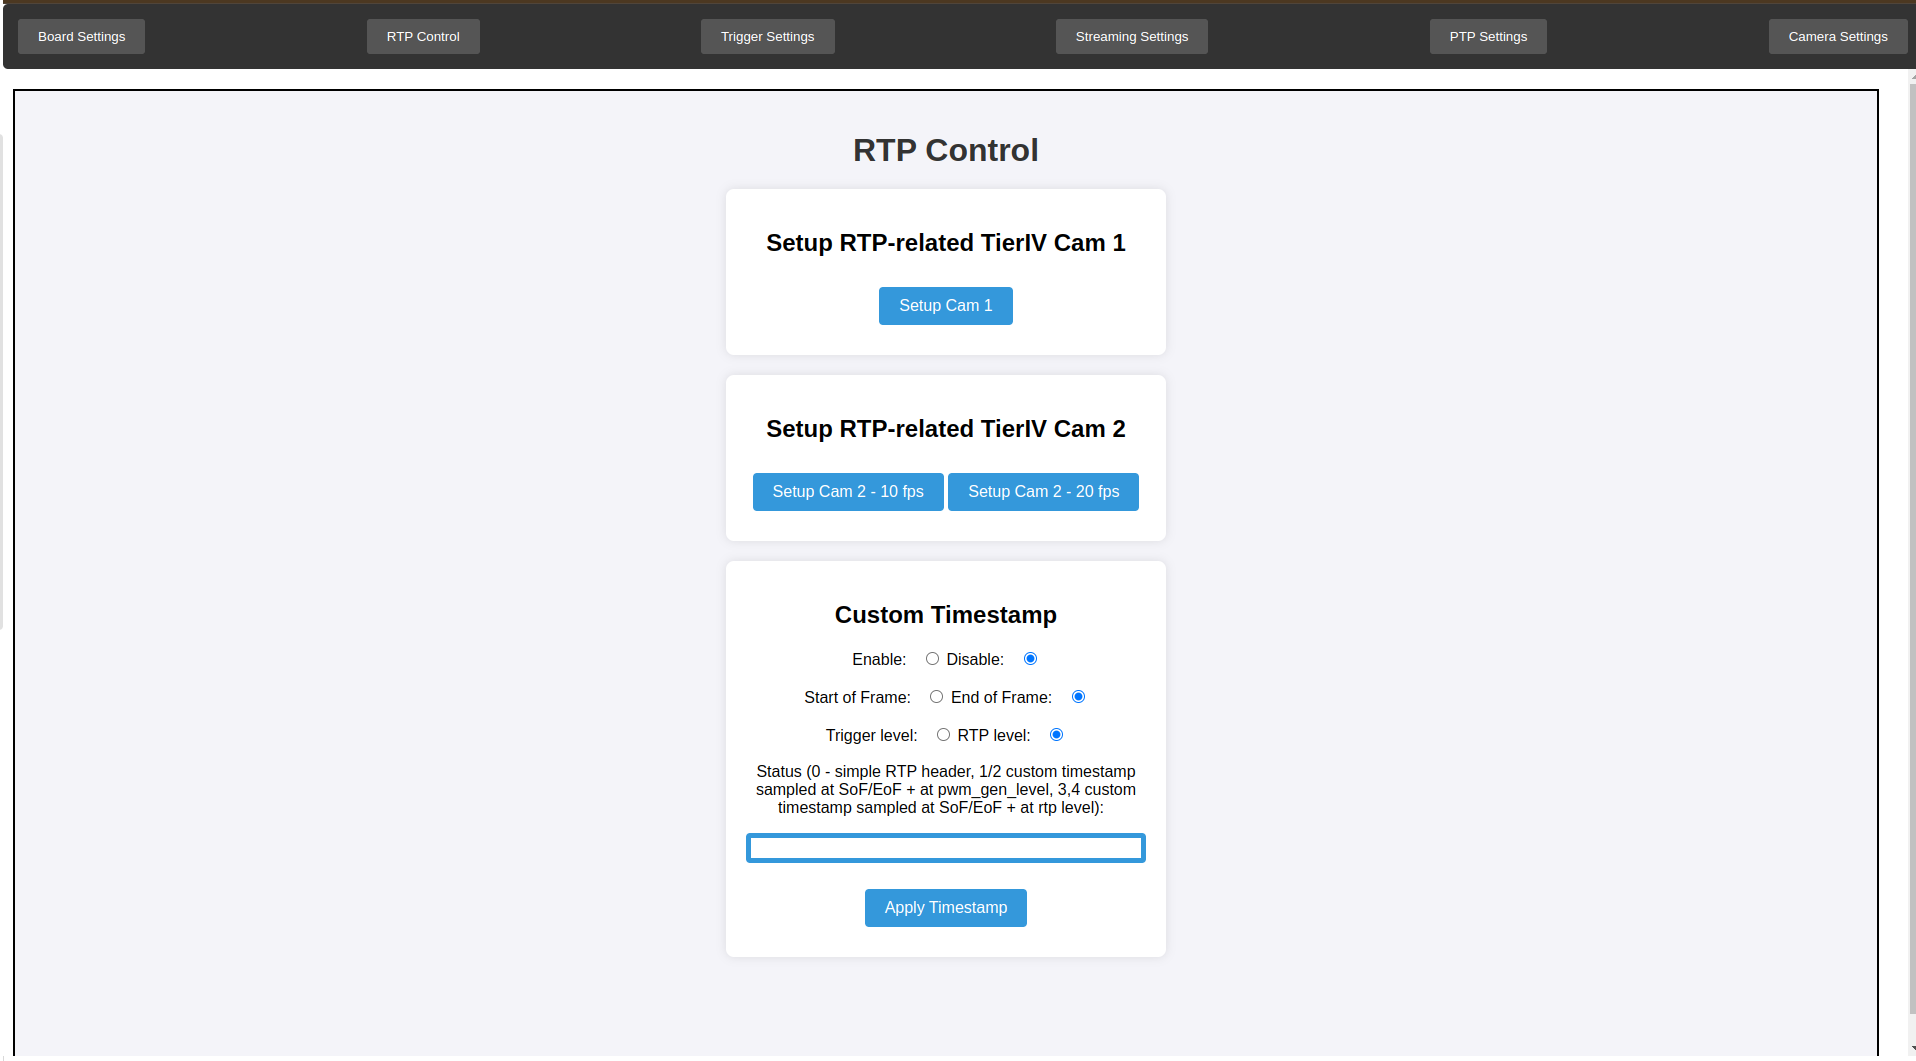
Fig. 4.8 RTP Control#
In this tab, TierIV Cam 1 indicates the C1 camera and TierIV Cam 2 indicates the C2 camera.
The meaning of each button is as follows:
Note
Only actionable buttons are highlighted.
Setup Cam 1: The settings for the C1 camera are configured.Setup Cam 2 - 10 fps: The settings for the C2 run at 10fps camera are configured.Setup Cam 2 - 20 fps: The settings for the C2 run at 20fps camera are configured.
You can set the equivalent meaning with the configurations described in CUI.
4.4.4. Streaming the image#
Finally, start the image streaming.
Clicking Streaming Settings will open the Streaming setting page.
In this tab, TierIV Cam 1 indicates the C1 camera and TierIV Cam 2 indicates the C2 camera.
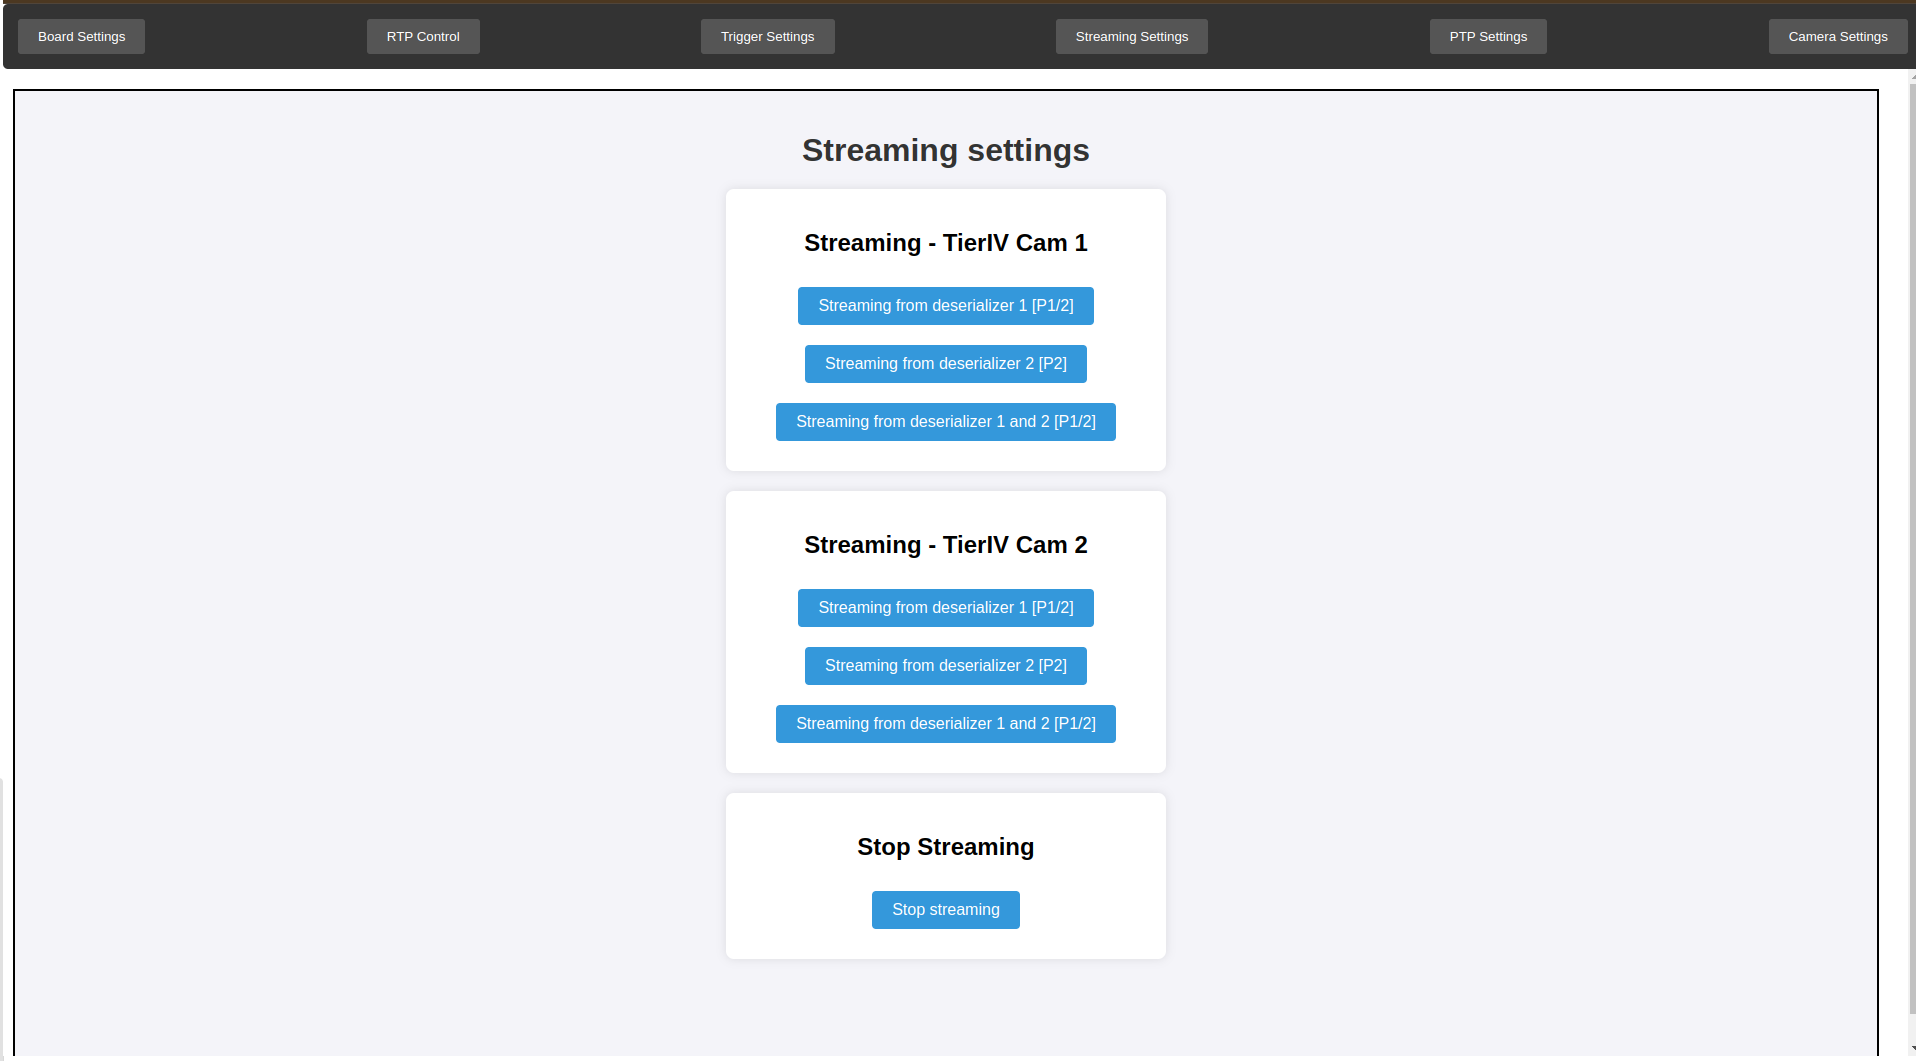
Fig. 4.9 Streaming settings#
The meaning of each button is as follows:
Note
Only actionable buttons are highlighted.
Streaming - TierIV Cam 1
Streaming from deserializer 1 [P1/2]:
Starts image streaming from the C1 camera connected to P1 or P2.Streaming from deserializer 1 [P2]:
Starts image streaming from the C1 camera connected to P2.Streaming from deserializer 1 and 2 [P1/2]:
Starts image streaming from the C1 camera connected to P1 and P2.
Streaming - TierIV Cam 2
Streaming from deserializer 1 [P1/2]:
Starts image streaming from the C2 camera connected to P1 or P2.Streaming from deserializer 1 [P2]:
Starts image streaming from the C2 camera connected to P2.Streaming from deserializer 1 and 2 [P1/2]:
Starts image streaming from the C2 camera connected to P1 and P2.
Stop Streaming
Stop streaming:
Stop any streaming that is running.
Warning
When changing streaming settings, stop streaming once and start streaming again.
You can set the equivalent settings with the CUI or REST API.
4.4.5. Nest Step#
Please proceed Camera triggering and setting camera triggering.