Quick Start#
Scenario Simulator v2 with Autoware Universe#
This guide provides step-by-step instructions for building and running Scenario Simulator v2 alongside Autoware Universe. It covers the required setup and prerequisites.
Prerequisites#
- Ubuntu 22.04 machine
- ROS 2 Humble Hawksbill desktop version installed
How to build#
-
Clone the Autoware Universe repository.
git clone git@github.com:autowarefoundation/autoware.git -
Move to the workspace directory.
cd autoware mkdir src -
Import Autoware and Simulator dependencies.
vcs import src < autoware.repos vcs import src < simulator.repos -
Install dependencies for Autoware Universe.
./setup-dev-env.sh
Note
This step will install necessary dependencies, including ROS 2, if not already installed. Make sure to confirm and agree with the licenses for NVIDIA libraries like CUDA, cuDNN, and TensorRT.
-
Install dependent ROS packages.
source /opt/ros/humble/setup.bash rosdep install -iry --from-paths src --rosdistro $ROS_DISTRO -
Build the workspace.
colcon build --symlink-install --cmake-args -DCMAKE_BUILD_TYPE=Release
Note
For detailed guidance on build issues and troubleshooting, please refer to the Autoware Troubleshooting Guide.
 As a result of running the
 colcon build command, all packages should be built successfully.
How to run#
Preparation#
-
Move to the workspace directory.
cd path/to/workspace -
Source the workspace setup script.
source install/setup.bash
Run the examples#
scenario_test_runner#
ros2 launch scenario_test_runner scenario_test_runner.launch.py \
    architecture_type:=awf/universe/20250130 \
    record:=false \
    scenario:='$(find-pkg-share scenario_test_runner)/scenario/sample.yaml' \
    sensor_model:=sample_sensor_kit \
    vehicle_model:=sample_vehicle
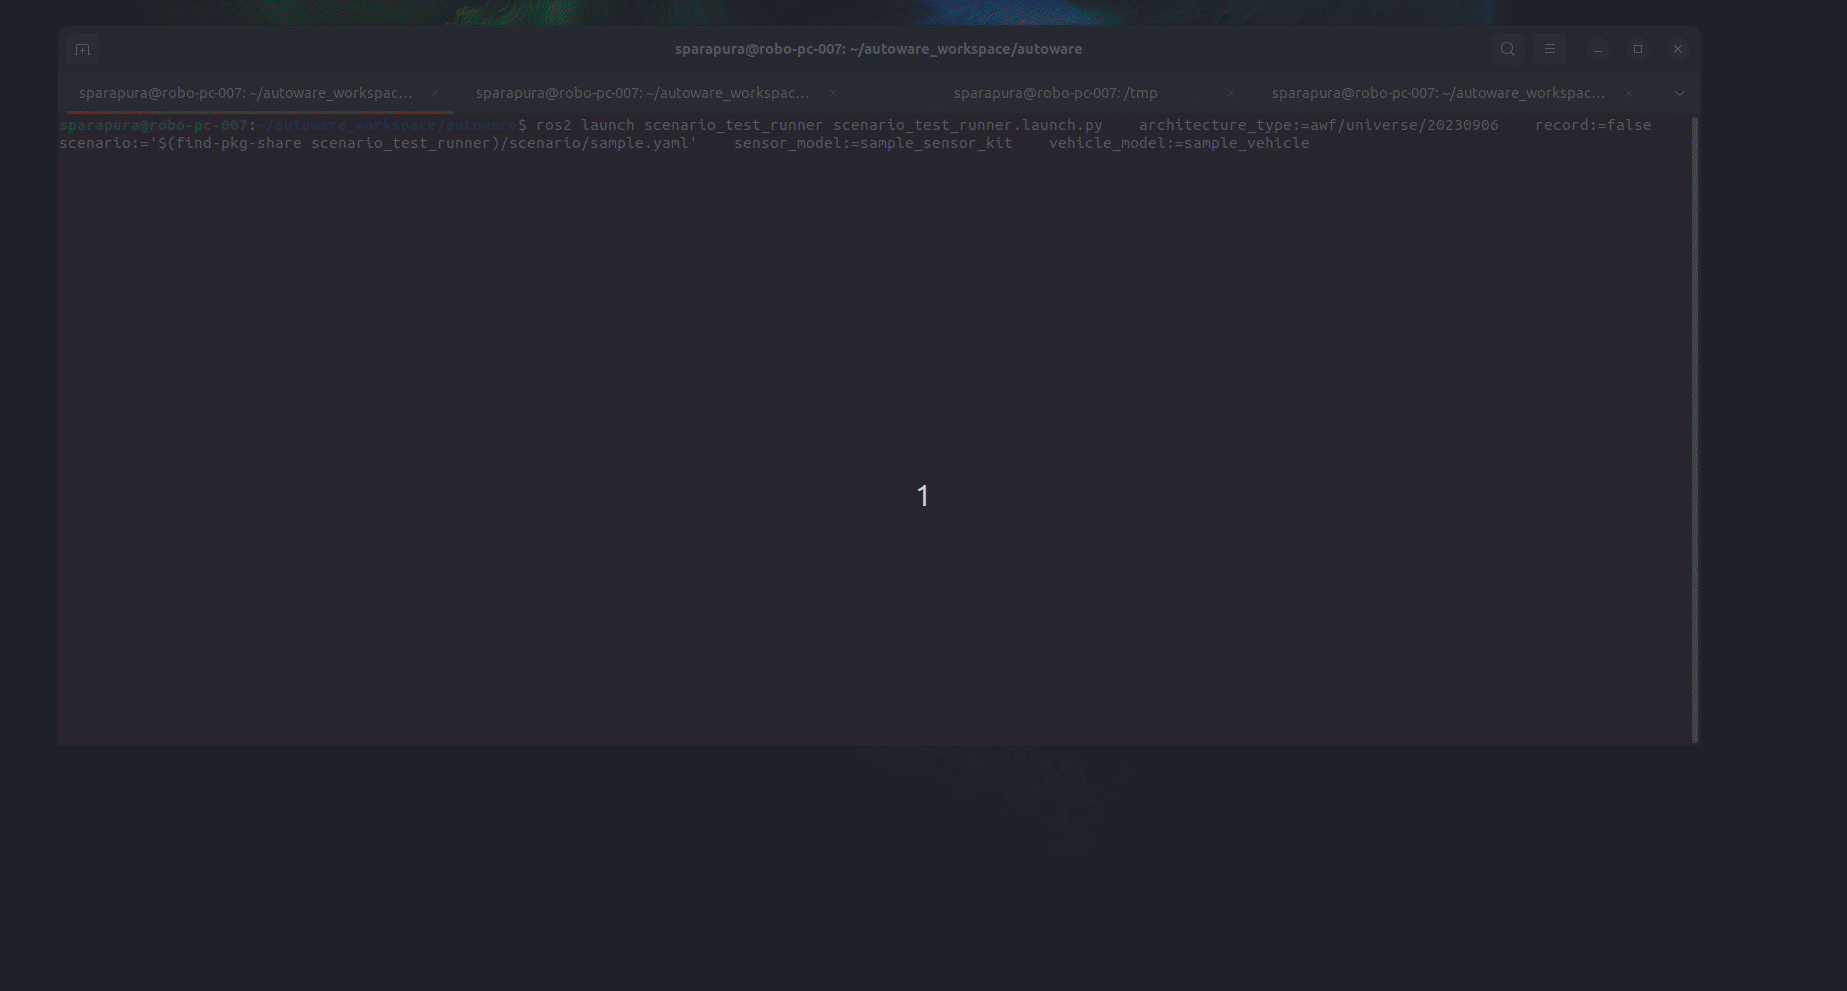 The process of launching the
 scenario_test_runner node.
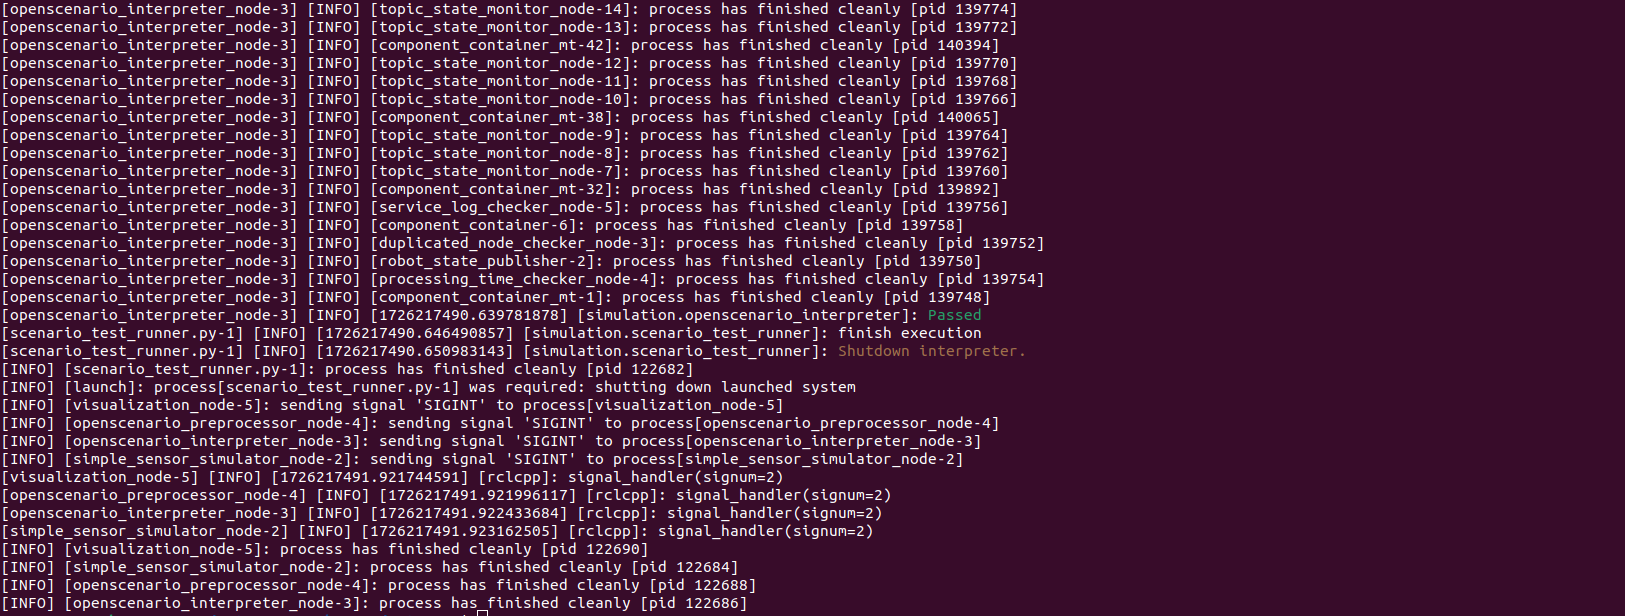 The expected outcome of running the
 scenario_test_runner node.
random_test_runner#
ros2 launch random_test_runner random_test.launch.py \
    architecture_type:=awf/universe/20250130 \
    sensor_model:=sample_sensor_kit \
    vehicle_model:=sample_vehicle timeout:=120.0
Note
To modify parameters of random testing and to obtain more details about the test results and the result.junit.xml file (which is saved by default in the /tmp directory), please refer to the random_test_runner documentation.
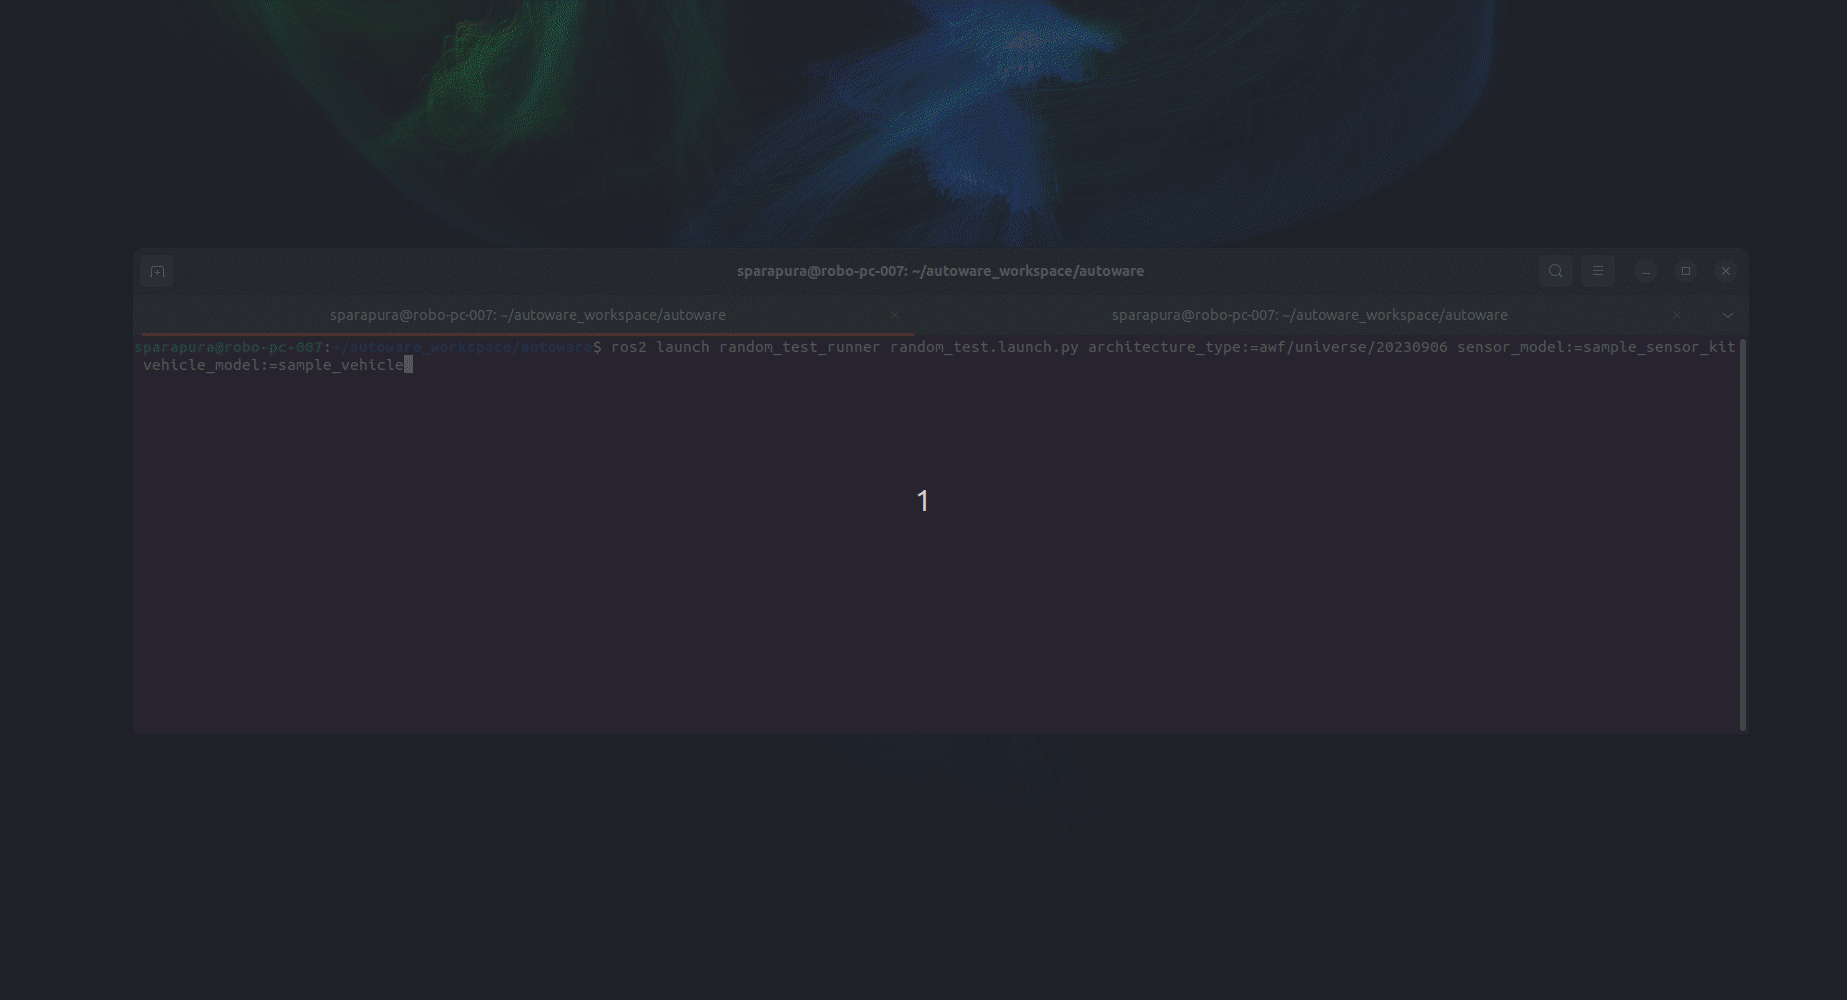 The process of launching the
 random_test_runner node.
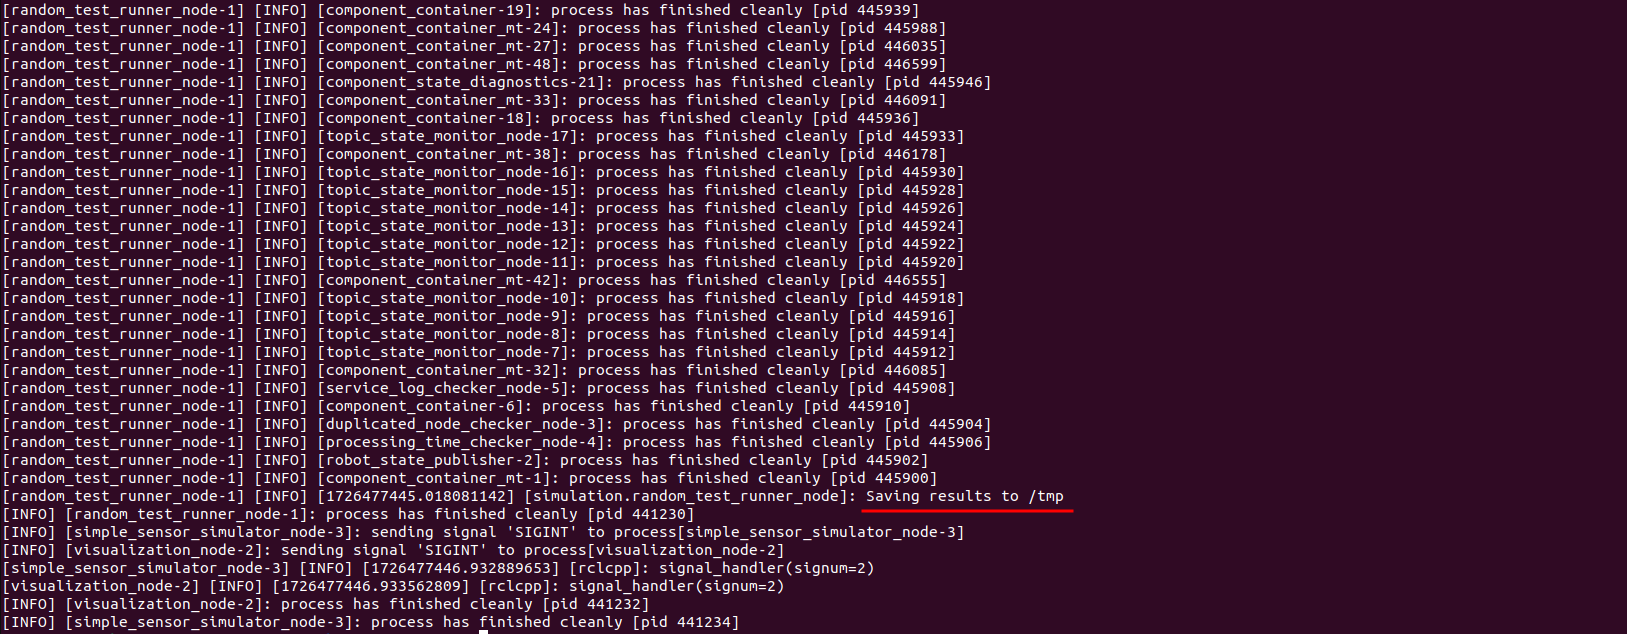 The expected outcome of running the
 random_test_runner node.
cpp scenario demo#
ros2 launch cpp_mock_scenarios mock_test.launch.py \
    scenario:=traffic_simulation_demo \
    launch_rviz:=true timeout:=120.0
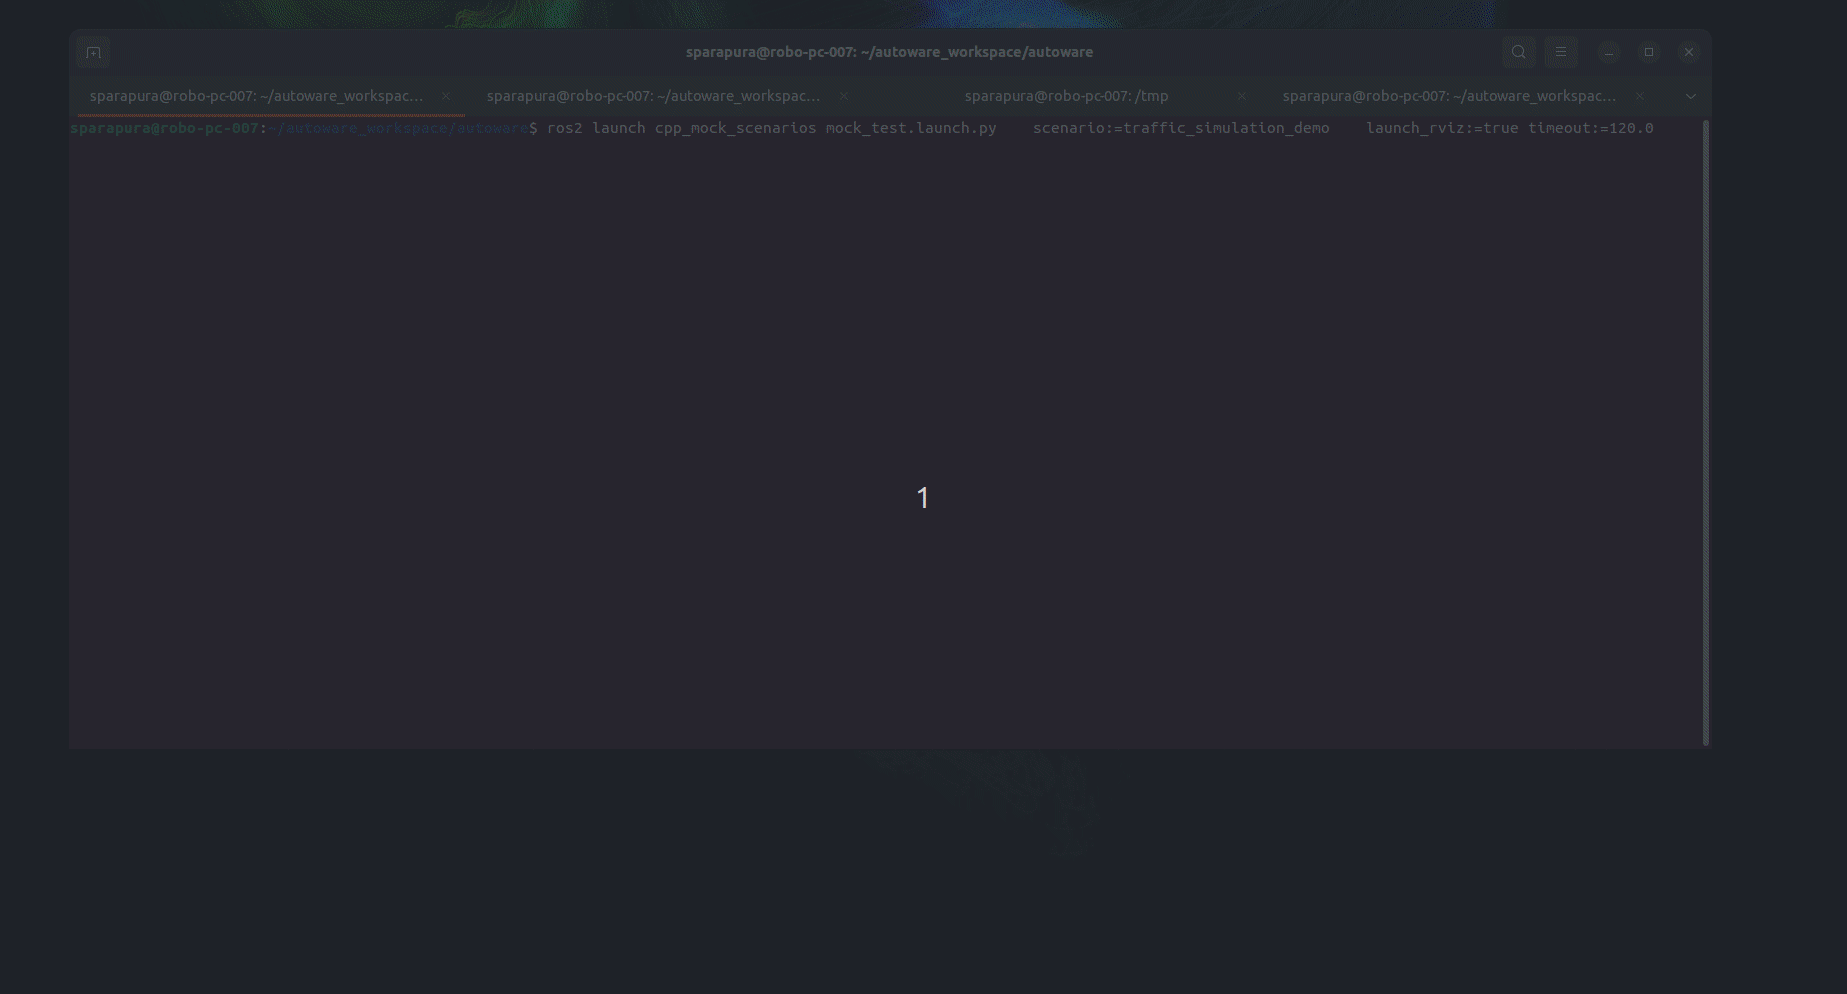 The process of launching the
 cpp_mock_scenarios node.
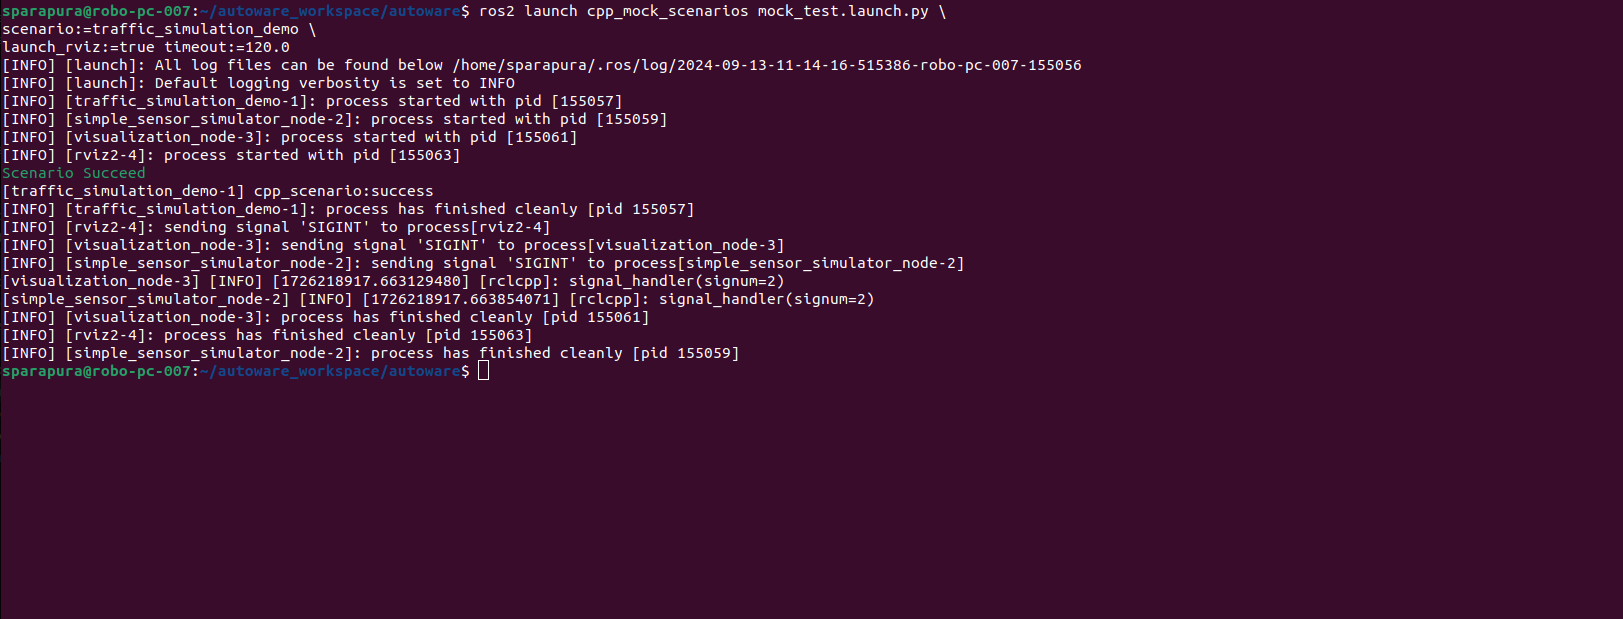 The expected outcome of running the
 cpp_mock_scenarios node.